Hip Internal Rotation Guide
Hip internal rotation reveals more about structural state than any other test. Normal ranges, measurement, asymmetries, and how to act on the data.
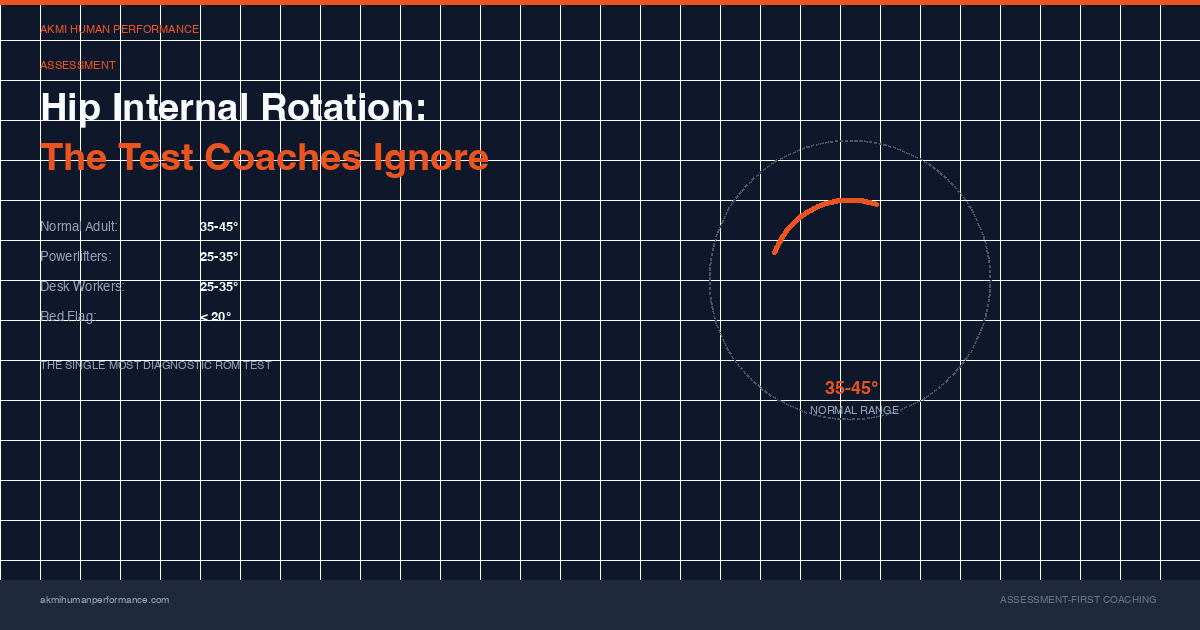
One number that tells you more than a full movement screen
If you could only run one test on a new client, it should be hip internal rotation.
That is not an exaggeration. Hip IR is the single most informative range of motion measurement a coach can take. It tells you about pelvic position, lumbar spine compensation, lower extremity alignment, squat depth potential, and injury risk — all from one bilateral measurement that takes 90 seconds.
Most coaches never test it. They test squat depth, shoulder mobility, maybe trunk rotation. They run the overhead squat assessment or the FMS. These are fine, but they are composite tests — they show you the output of many joints working together without telling you where the limitation lives.
Hip IR is a component test. It isolates the hip joint’s ability to rotate inward, which depends on bony architecture, capsular flexibility, muscular length-tension relationships, and neurological tone. When hip IR is restricted, the effects ripple up and down the chain. When it is asymmetric, the ripple tells you which structural pattern is running the show.
What is hip internal rotation?
When you stand with your foot pointing forward and rotate your thigh inward (so your knee points toward the midline), the motion happening at the hip joint is internal rotation. The femoral head is spinning in the acetabulum, rotating the shaft of the femur toward the body’s center.
It is a small motion — normal values range from 30 to 45 degrees depending on the population — but it is a critical one. Hip IR is required for:
- The stance phase of walking (the trailing leg internally rotates as the body passes over it)
- Squat depth below parallel (the hips must internally rotate to allow the femur to clear the pelvis)
- Single-leg stance stability (the stance hip internally rotates as the pelvis shifts)
- Rotational sport movements (throwing, swinging, kicking all require hip IR on the lead leg)
- Pelvic floor function (hip rotation is directly coupled to pelvic floor tone through fascial connections)
When hip IR is limited, the body finds range elsewhere. The lumbar spine rotates to compensate. The knee collapses medially to fake the appearance of hip rotation. The foot pronates excessively to create ground-level adaptation. Every one of these compensations carries injury risk.
Normal ranges by population
These numbers come from peer-reviewed literature and our own database of 500+ assessments. They represent passive range of motion measured in a seated or supine position with the hip at 90 degrees of flexion.
| Population | Hip IR (degrees) | Notes |
|---|---|---|
| General adult (18-40) | 35-45 | Bilateral, measured seated |
| General adult (40-60) | 30-40 | Gradual decline is normal |
| General adult (60+) | 25-35 | Below 20 warrants referral |
| Recreational lifters | 30-40 | Often reduced vs. general population |
| Competitive powerlifters | 25-35 | Extension bias reduces IR |
| Runners | 30-40 | Highly variable, correlates with injury history |
| Baseball pitchers (lead hip) | 40-55 | Higher IR on lead leg is normal and necessary |
| Soccer/football players | 35-45 | Position-dependent variation |
| Desk workers (sedentary) | 25-35 | Sitting does not directly limit IR, but associated patterns do |
| Adolescents (12-17) | 40-50 | Higher baseline, more bony compliance |
| Post-hip-replacement | 15-30 | Depends on implant orientation |
The total arc of rotation matters as much as the individual numbers. If a client has 40 degrees of IR and 40 degrees of ER, their total arc is 80 degrees — normal. If they have 20 degrees of IR and 60 degrees of ER, their total arc is also 80 degrees, but the distribution tells a completely different structural story.
The asymmetry question
Bilateral comparison is where hip IR gets clinically powerful. In a perfect world, left and right hip IR are within 5 degrees of each other. In practice, they almost never are.
Here is what the asymmetry tells you:
Left hip IR greater than right hip IR (most common pattern): This is the default human asymmetry. The liver sits on the right side, the heart on the left. The right hemidiaphragm is thicker and more domed. The pelvis tends to orient to the left in the majority of the population, which places the left hip in a position of relative internal rotation and the right hip in relative external rotation. When you measure and find 40 degrees of IR on the left and 28 degrees on the right, you are likely looking at a left-dominant structural pattern.
Right hip IR greater than left hip IR: Less common. This pattern suggests either a right-dominant structural organization (which exists but is rarer) or a compensatory response. Athletes who rotate heavily to one side (golfers, tennis players, baseball players) can develop this pattern from sport-specific adaptation.
Bilateral IR restriction (both sides below 25 degrees): This is the extension pattern marker. When both hips lose internal rotation, the pelvis is locked in anterior tilt, the lumbar spine is in extension, and the entire system is biased toward the front of the body. These clients often have great posture in photographs — upright, chest out, shoulders back — but the rigidity is the problem, not the solution.
Bilateral IR excess (both sides above 50 degrees): This is less common and can indicate hypermobility, capsular laxity, or a flexion-dominant pattern. These clients tend to live in posterior pelvic tilt and may have difficulty generating stiffness under load.
How to test hip internal rotation
There are three standard positions for testing hip IR. Each has trade-offs.
Position 1: Seated (preferred)
The client sits on a firm surface (bench, plinth, or sturdy chair) with knees bent to 90 degrees, feet hanging free. The coach stabilizes the distal femur (just above the knee) with one hand and moves the lower leg outward with the other hand. As the lower leg moves laterally, the femoral head rotates internally.
Why this position: Gravity is neutral. The hip is already at 90 degrees of flexion, which is the standard testing position in the literature. The client can relax. Measurement is straightforward with a goniometer or inclinometer.
How to measure: Place the goniometer axis on the center of the patella. The stationary arm points straight down (toward the floor, following the tibial shaft at rest). The moving arm follows the tibial shaft as you rotate. The angle between the resting position and the end range is hip IR.
Key coaching points: Do not let the pelvis shift. If the opposite hip lifts off the bench, the range you are measuring includes pelvic rotation, not just hip rotation. Stabilize. Test slowly. Find the true end feel — the point where the joint stops, not the point where the muscle stretches.
Position 2: Supine (90/90)
The client lies on their back with the hip and knee both at 90 degrees (thigh vertical, shin horizontal). The coach moves the lower leg outward while stabilizing the thigh.
Why this position: Eliminates any trunk contribution. The pelvis is fixed against the table. This is the most controlled position but can be uncomfortable for clients with hip flexion restrictions.
Trade-off: Some clients cannot maintain 90 degrees of hip flexion without compensation. If the hip flexion range is less than 90 degrees, the client will posteriorly tilt their pelvis to get there, which changes the IR measurement.
Position 3: Prone
The client lies face down with the knee bent to 90 degrees. The coach drops the lower leg inward (toward the midline). As the foot moves inward, the hip externally rotates. To measure IR in prone, the lower leg drops outward (away from the midline).
Why this position: Easy for the client. Good for quick screening. Common in physical therapy settings.
Trade-off: The hip is at 0 degrees of flexion in this position, which changes the available rotation due to capsular mechanics. Prone IR measurements are typically 5-10 degrees lower than seated or supine measurements. If you test prone, compare to prone norms, not seated norms.
What to do with the data
Here is where most coaches stop. They test, they write down a number, and then they program the same exercises they would have programmed anyway. The test becomes a ritual instead of a decision tool.
Hip IR data should directly change at least three programming decisions:
1. Squat pattern selection
A client with bilateral IR restriction (both sides below 25 degrees) cannot squat deep without compensating. The femoral head runs out of room in the acetabulum, and the pelvis tucks under (the “butt wink”) to create the appearance of depth. Loading a squat on top of this compensation pattern loads the lumbar spine in flexion under compression — the exact mechanism for disc injury.
For these clients: box squats above parallel, goblet squats with a controlled depth, or split squats. Earn depth through hip IR restoration before demanding it under load.
A client with adequate bilateral IR (both sides above 35 degrees) can squat deep safely if their ankle and thoracic mobility also support it. The hip is not the bottleneck.
A client with asymmetric IR (15+ degree difference between sides) needs asymmetric loading. The restricted side will limit bilateral squat depth and create rotational compensation. Single-leg work — split squats, lunges, step-ups — allows each hip to work within its own available range.
2. Deadlift stance and setup
Hip IR affects deadlift mechanics more than most coaches realize. Conventional deadlift requires less hip IR than sumo deadlift. Clients with bilateral IR restriction often feel “stuck” at the bottom of a conventional pull — they are. The hips cannot rotate enough to let the torso get into position.
Sumo deadlift requires significant hip external rotation but also needs adequate IR for the trailing hip during lockout. Clients with very high ER and very low IR can get into the sumo start position but lose position at the top.
Test hip IR. Match the stance to the rotation.
3. Corrective exercise selection
When hip IR is restricted, direct mobilization is one option but not always the best one. The restriction might be capsular (joint), muscular (piriformis, obturators, gemelli), fascial, or neural. The end feel during testing tells you which:
- Hard end feel (bone on bone): Capsular restriction or bony morphology. Mobilization is limited. Work within available range.
- Firm end feel (tissue stretch): Muscular or fascial. Responds well to 90/90 breathing drills, hip shift patterns, and targeted soft tissue work.
- Empty end feel (pain before restriction): Refer out. This is not a coaching issue.
For muscular/fascial restrictions, the most effective corrective approach is repositional breathing — using exhale-focused drills in positions that facilitate hip IR (sidelying, hooklying with adductor squeeze, 90/90 hip shift). These drills address the neurological tone that maintains the restriction, not just the tissue length.
The connection to structural patterns
Hip IR does not exist in isolation. It is part of a structural chain that runs from the foot to the ribcage.
When the pelvis orients to the left (the most common resting pattern), the left hip sits in relative internal rotation and the right hip in relative external rotation. This is not a pathology — it is the default human state, driven by organ asymmetry and diaphragm anatomy.
The problem occurs when the pattern gets stuck. When the pelvis cannot rotate out of the left-oriented position, the left hip maintains IR but loses ER, and the right hip maintains ER but loses IR. The system cannot alternate between sides. Gait becomes asymmetric. Load distribution becomes asymmetric. Over time, one side accumulates more stress.
AKMI’s structural assessment uses hip IR as one of 18 measurements that map the full pattern. The IR data alone tells a partial story. Combined with hip ER, hip flexion, shoulder rotation, thoracic rotation, and ankle dorsiflexion, it tells the complete story.
Common testing mistakes
Mistake 1: Not stabilizing the pelvis. If the pelvis rotates during the test, you are measuring pelvis-on-femur motion plus femur-in-acetabulum motion. You want just the latter. Stabilize.
Mistake 2: Testing too fast. Quick motion engages the stretch reflex. The muscle contracts to protect the joint, and you measure the guarded range, not the available range. Test slowly. Wait for the tissue to relax.
Mistake 3: Comparing to internet norms instead of the individual’s other side. A client with 30 degrees bilateral IR is symmetrical and probably fine for their bony architecture. A client with 45 degrees on the left and 25 degrees on the right has a 20-degree asymmetry that matters, even though both numbers are “normal.”
Mistake 4: Testing once and never retesting. Hip IR changes. It changes with training, with posture habits, with corrective exercise, and with time. Test at baseline, retest every 4-8 weeks, and track the trend. This is how you know if your program is working at a structural level, not just a performance level.
Mistake 5: Ignoring the test because you don’t know what to do with the data. This is the most common mistake. The test takes 90 seconds. The data changes programming decisions. If you do not know how to interpret it, that is a skill gap to close, not a reason to skip the test.
Try it yourself
The AKMI ROM Estimator lets you enter hip IR measurements (along with 17 other ROM tests) and get instant structural pattern probability. It is free, it requires no account, and it gives you a concrete answer: based on this data, which structural pattern is most likely, and what does that mean for programming?
If you measure a client’s hip IR tomorrow morning, you will have more useful structural data than 90% of movement screens provide. Combine it with hip ER, and you have the bilateral rotation profile. Add ankle dorsiflexion, and you have the lower extremity picture. The full assessment methodology builds from there.
Start with hip IR. It is 90 seconds and a goniometer. The data will change how you coach.
Want to understand the full 18-test assessment protocol? Read our guide to biomechanical assessment or try the ROM Estimator with your own measurements.
Assessment-first biomechanical coaching for serious lifters and competitive athletes. 18 tests, 6 structural patterns, data-driven programming. We measure what matters, then build from what we find.
LEARN MORE →Related Articles
View all →APT Assessment: What Coaches Miss
Anterior pelvic tilt is not caused by tight hip flexors. The assessment-first approach changes the diagnosis and the fix. Here is what the data shows.
AssessmentROM Normal Values Database
Complete ROM norms by joint, age, gender, and sport. Hip, knee, ankle, shoulder, thoracic, cervical, and wrist in one bookmarkable reference.
AssessmentWhat Is Biomechanical Assessment?
How a biomechanical assessment measures your body joint by joint. What it tests, why it matters, and how coaches use it to build programs that work.
AssessmentROM Testing Guide for Coaches
Practical guide to range of motion testing. Which joints to test, what the numbers mean, and how ROM data changes your programming decisions.